
Back in 2011 I blogged about how long it takes boxwood to grow into a hedge. Being able to showcase the years of growth require me remembering to photograph the boxwood every year for a prolong period. I found another project where over the course of four years I have the grow documented. So here is an update of Boxwood Growth Over Time.
RULES IN PLANNING AND PLANTING FOR OPTIMAL BOXWOOD GROWTH
Variety Rate of Growth and Habit.
There as many different varieties of boxwood as there are shapes you can clip them. The selection of the boxwood for your project is important, right plant for right place. There are varieties that are great for taller hedges, low hedging, and ornamental shapes and pruning. In this photo example I have planted Buxus ‘Green Velvet’ which is a slower growing variety. Planted on 1’ 6” to 2’ centers, after a five year growth period these will stay a low table top with two major trims and one touch up per year. For a medium grower I like Buxus ‘Faulkner’ and plant those on 1.5’ centers when I plant a #5 plant. Other varieties I like to use include Buxus semperviren ‘Vardar Valley’ for its blueish / green foliage and Buxus sinica var. insularis ‘Winter Gem’ for its large mounding habit and almost chartreuse foliage. These varieties are also used for their winter hardiness and their resilience to the box blight.
Good Roots make Good Boxwoods.
Boxwood prefer cool insulated root systems, so a layer of 2 inches of leaf compost/mulch provides a happy growing environment. However avoid mulching volcanos and leave a ring around the truck to provide some breathing space around the boxwood. Too much mulch will lead to of problems and ultimately death.
Feeding with Sun, water and Organic Matter.
Boxwood like full to part sun and normal watering once established. Feeding plants is always important for promoting healthy growth. I like to mulch boxwood with a leaf compost mix, as the compost breaks down the nutrients are sent to the root system. Warning, do not over water your boxwood. They do not tolerate consistently damp soil and it will also increase the boxwood blight and other diseases. It is crucial that the boxwood is not placed in too shady of a site- the foliage needs to be allowed to dry completely. If not you are setting your self up for a ton of pest and diseases.
NEW! Protect your Investment.
I am adding this rule since the past winters have been so extreme on boxwood with moisture levels and fluctuating temperatures. Also, with the spread of boxwood blight your financial and time investment can quickly be destroyed. For locations where the boxwood will receive winter winds or heat radiation from the home, it is a good practice to spray your boxwood with anti-desiccant and or wrap the boxwood in burlap to decrease the risk of desiccation. This occurs when the ground freezes and the boxwood continues to try photosynthesize. The lack of ability to take water up through the root zone dries the plant out to sever damage or death.
PROGRESSION OF BOXWOOD GROWTH OVER FOUR YEARS
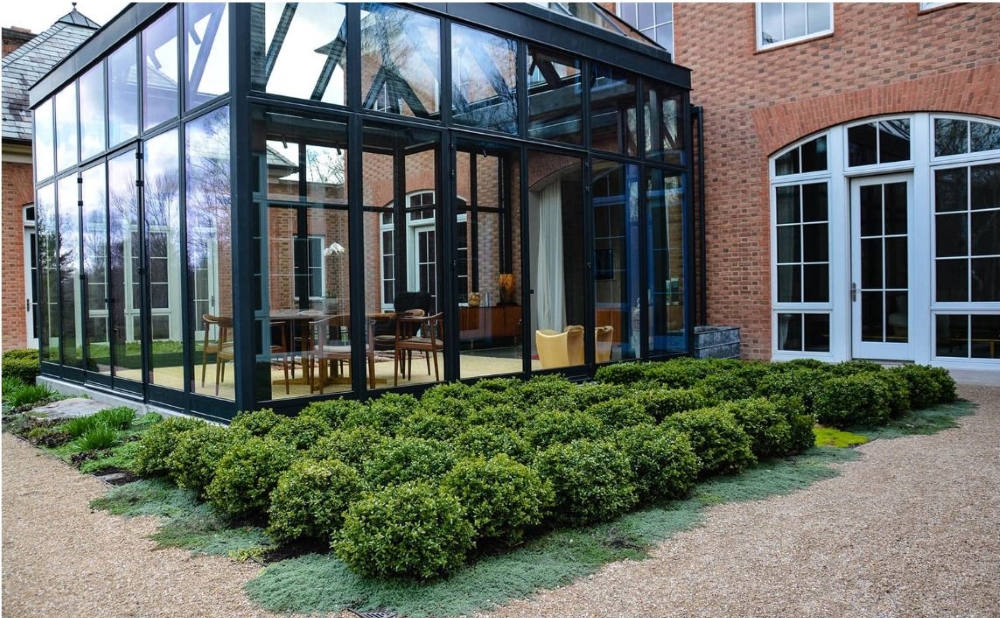
YEAR ZERO. Buxus ‘Green Velvet’ are planted on 1’6″ centers in 2014. This photo was taken just a few months post planting. We started by only trimming the tops and allowing the plant to fill on the sides.

YEAR ONE. After one year of planting the boxwoods are beginning to touch, but individual plants are still noticeable. We are still only trimming the tops and slight trimming of the exteriors of the “table”.
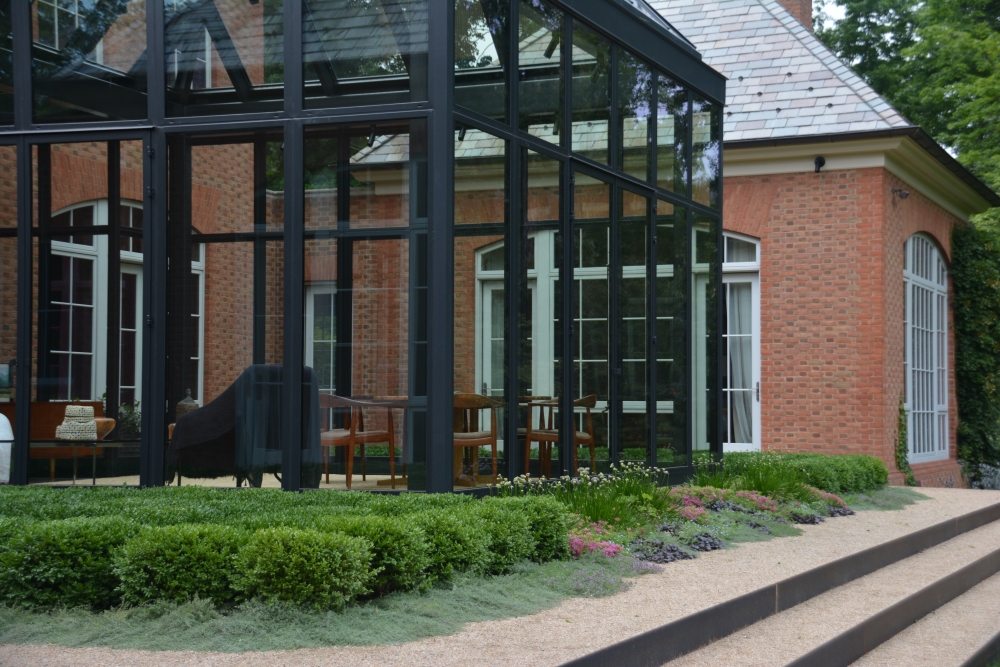
YEAR TWO. Just after a heavy pruning the boxwood are now almost forming the complete table top with minimal voids. Most gardens take until year three to look their best.
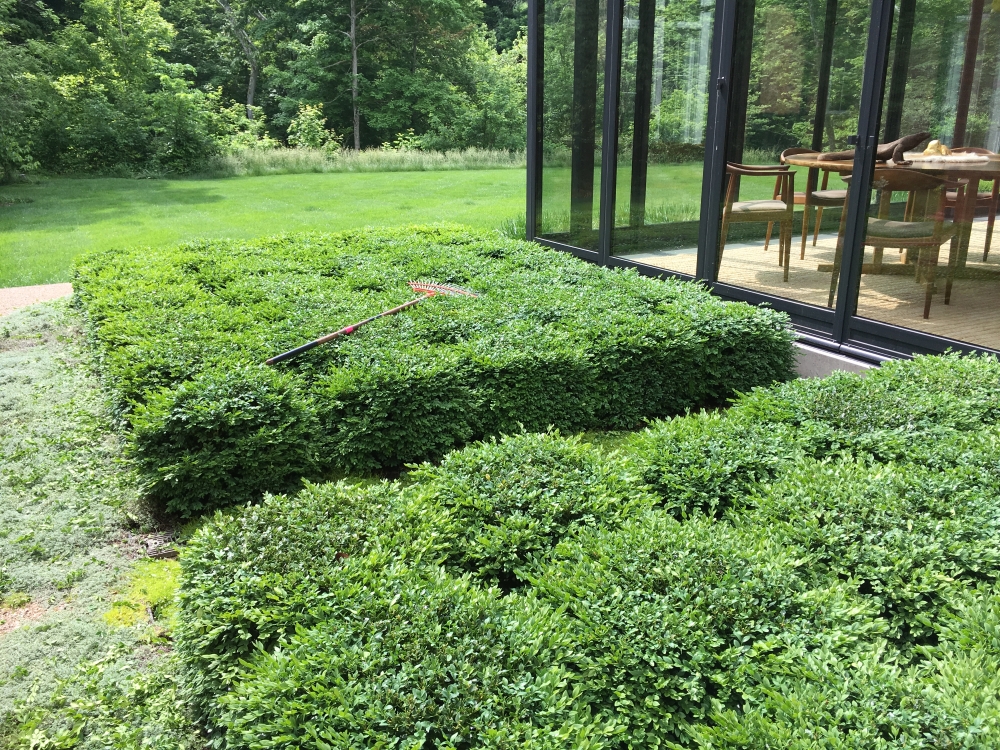
YEAR THREE. Just after a pruning, the boxwood are a full table top. We are now trimming the entire tops and exteriors of the the table on a consistent basis.
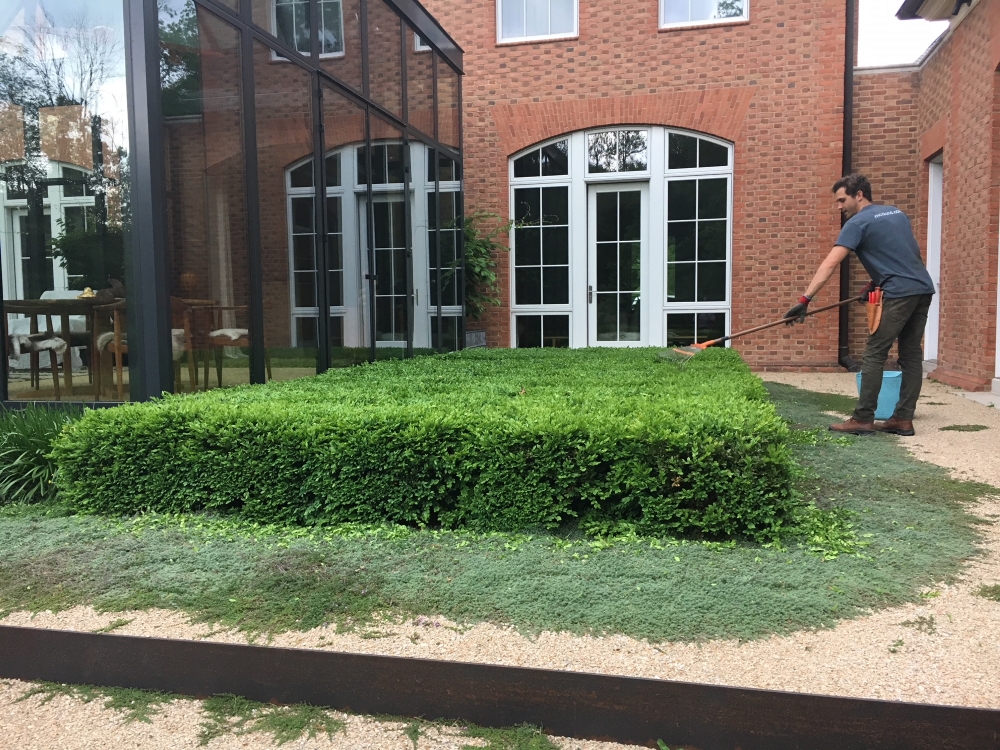
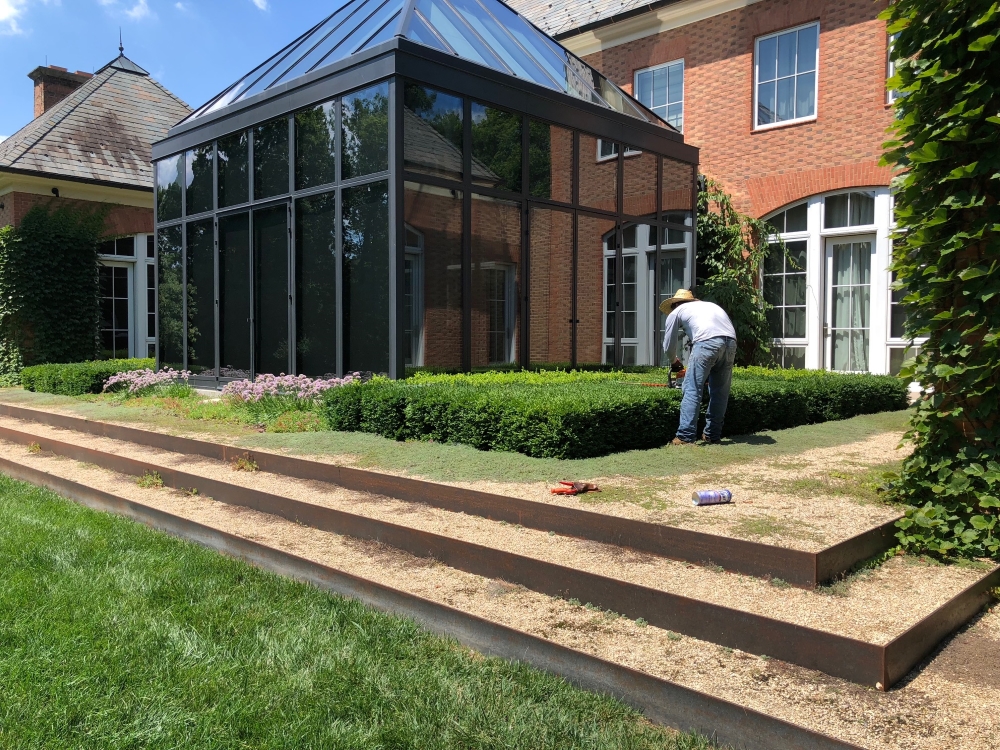
YEAR FOUR. In the middle of pruning, you can see the new growth we are removing (brighter green) to maintain the overall height just at the base of the solarium. By year four the plants look fairly consistent from year three and are at the optimal health we strive to maintain. Please note the bottle of Lysol in the foreground. We clean blades every time we start clipping, from area to area and always from property to property to prevent the spread of virus, fungus and blight.
Please let me know if you have any questions related to boxwood maintenance or clipping. This table top is not a rookie job, only a few folks I qualify to clip since it is so deep and wide of a flat top. We also have diligent watch by the maintenance team and our plant health care expert to ensure we are watching out for any sign of boxwood blight.
I’m looking for boxwoods for the front of my home. I want them to require as little maintenance as possible. I have a ranch and windows are about three feet high. Green velvet grows to four feet – how quickly? Or would a slow growing Faulkner gem? So many varieties. My home does have established foundation plants so if I go too small they will llook tiny.
Thank you for your help!
This was a good, practical read. Thanks!
If you answer questions I have one. I have a few uncared for boxwoods which
now consist of a woolike 3/4″ trunk with some green boxwood foliage on top.
Is there anything I can do to promote new green growth on the wood like
3/4″ “trunk”?