I am going to be honest, over the past few months there have been way too many times I have become physically upset about the destruction of old growth trees for the sake of development. Columbus is growing out and the land in our area has remained old farms and large lots with numerous hardwood trees. The philosophy of local development is to clear cut edge to edge instead of using any existing trees within their design. (Or the harvest all the hardwood and leave the less valuable weedy trees). I’ve had to change my path to work to avoid witnessing the carnage. Unfortunately, my alternative routes are also becoming victim to mass clearing. I am trying to figure out how to constructively impact local zoning laws to encourage keeping large hardwoods in developments (great self distancing project), but in the mean time here are some ways passionate tree owners can protect their trees.
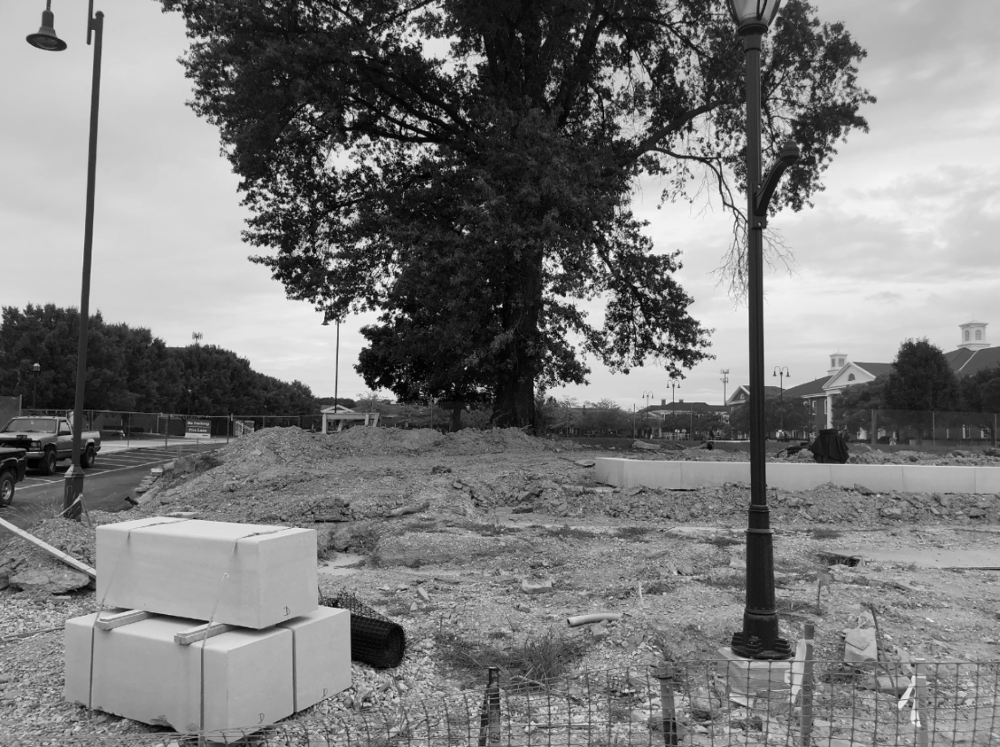
This oak was “protected” during construction but not the critical root zones. Equipment and supplies were stored under the dripline of this large oak which ultimately were damaged the tender feeder roots over the course construction.
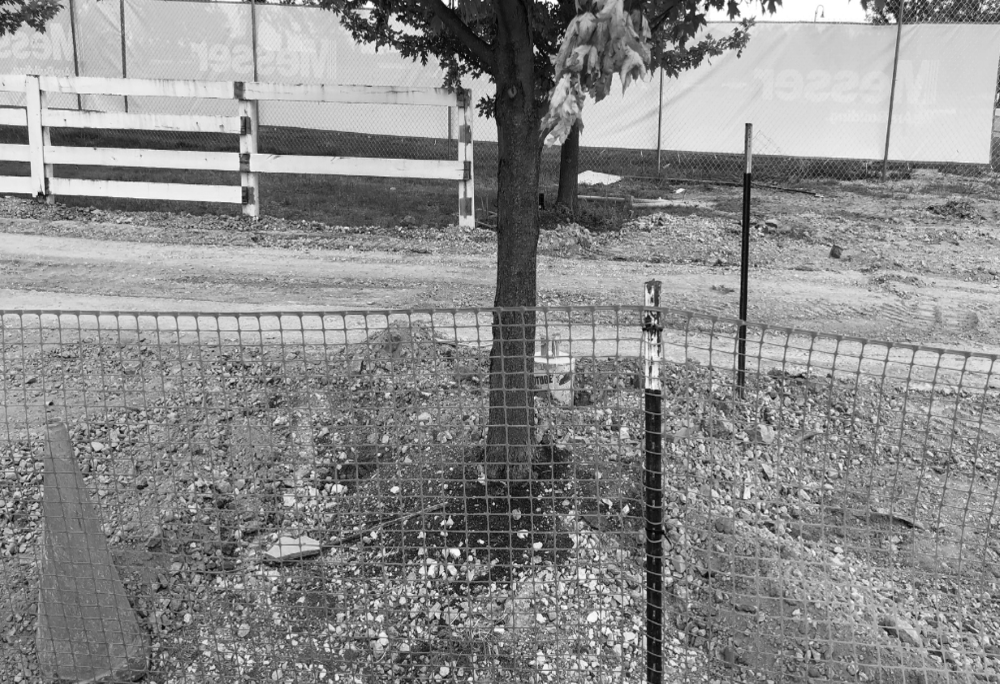
Another fail, Here they have a snow fence, but it was not protecting the tree and the construction around the root zone was completely disturbed.
The critical root zone of a tree is area of roots that lie directly below the tree’s canopy and are the most important roots to the tree’s health. If you imagine a circle on the ground below the edge of the outer branches, everything inside this circle is the most important area for protecting a tree.

Protecting During Construction or prolonged traffic over root zones. While building our house, the protection of the trees surrounding the building site was a major concern. Before any contractor step foot on the property we fenced around the root zones of all the trees. By fencing off this area from equipment, trucks and building material we ensured the root zones never got compacted. When root zones become compacted, they lose the ability to move water and nutrients. This is often a slow, but enviable death to the tree. This also ensured no vehicles could back into a tree and damage the bark and was the point that the finish grade had reach. The fence did not come down until the last truck pulled off the property and we had full control of the landscape.

Tools Needed:
Bright Orange Snow Fence I prefer the orange fencing since it is loud and makes a strong statement to say clear. You can use green if you want to make your neighbors happy. You will also need Steel Fence T-Posts about every 8 feet and Zip Ties to secure the fence to the posts. If you want something more decorative (and about twice the cost) you can use wooden snow fence instead of the plastic fencing, but will still need the t-posts and zip ties. Compared to the cost of cutting down a dead tree, this is a great value project that takes 2 hours of your time. I would also recommend searching Craig’s List/Facebook Marketplace for the supplies at a cheaper cost. (Locally I found four 50 foot rolls of the wooden snow fence for $25 used.)
**LARGE MULCH and PADS** Two images above are from a construction project last year. You can see we also laid down a layer of large wood chips down over in the frequently used path of the contractors. This provides a level of cushion on the soil to reduce the compaction. We will also do this with large boards. This helps to spread the weight over a larger area and reduces compaction. There will still need to be some turf restoration after this project is finished, but this reduces that level of work and long term affects of the heavy traffic.
Air Spading. This is not a do it yourself task, but is worth contacting a local arborist to complete. I have noted two different methods, improving tree root girdling around a trunk and reducing compact soil in the critical root zone.

Tree root girdling is when lateral roots cut into the main truck of the tree, putting pressure on the trunk and effecting the tree’s ability to move water and nutrients. Often this is the result of planting too deep, or creating mulch volcanoes around the tree truck (Mulch Volcanoes – building up the mulch around the tree year after year. We have all seen these). Our process is to remove all the mulch and use a high powered air to loosen up all the dirt surrounding the tree truck and within the drip zone. If we are able we cut some of the girdling roots and return the soil and light layer of mulch to the correct height.
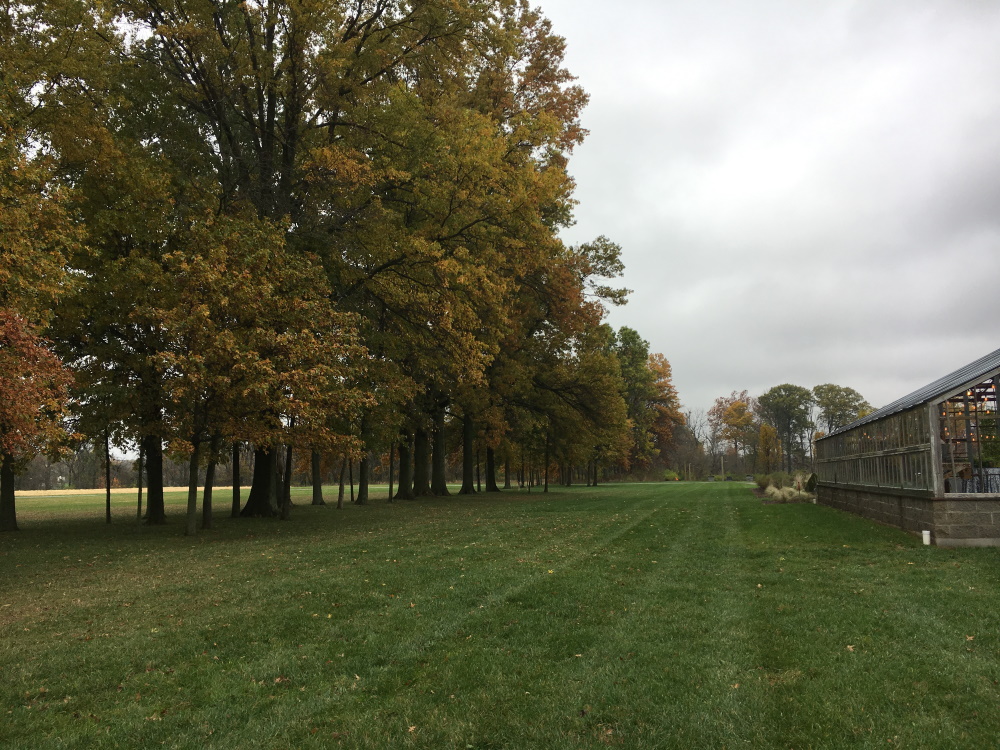
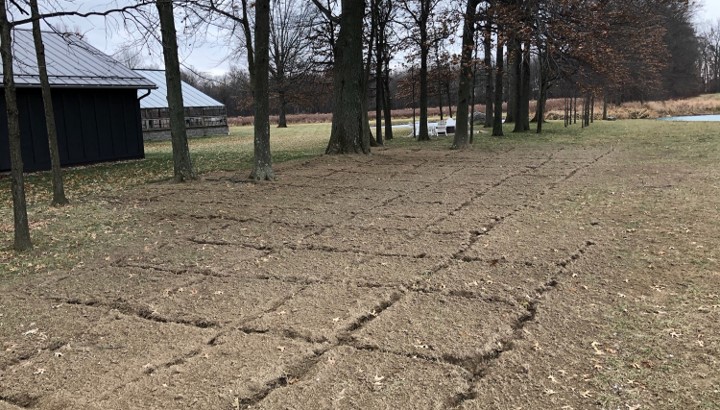
TRENCH AIR SPADING Post construction, or for very important tree groves, we do a trenched air spading method to loosen up large zones of soil when air spading entire roots zones is prohibitive. We did this at Oak Grove along the line of oak trees running the perimeter of the venue. There was some construction traffic in the area we could not control and so as soon as it was completed the team moved in and completed the trenching. The team created a grid with in the critical root zone running with in the area
What can a homeowner do? I understand most homeowners don’t have the ability to air spade nor the means to have all their trees professionally air spaded, so what can you do?
- Remove old layers of mulch and ensure you have a loose 2 inches deep level aligned to the tree base.
- Remove stacked piles of material, soil, etc from the tree root zones. Don’t have things prolonged leaning up on your trees.
- Mix up your foot traffic during projects – don’t take the same path every time
This post focused just on root zones, but there is also pruning and fertilization methods that can help you be good tree parents. Both proper pruning and tree fertilization are best up to the professionals, but there is a lot of great information out there to educate yourself prior to contacting an arbroist to understand your options and the impact their skills can have on your garden. I will work to pull together some resources in a follow up post. If you are in Central Ohio and need help with air spading to not hesitate to reach out to us. We have a highly trained team who would love to help.
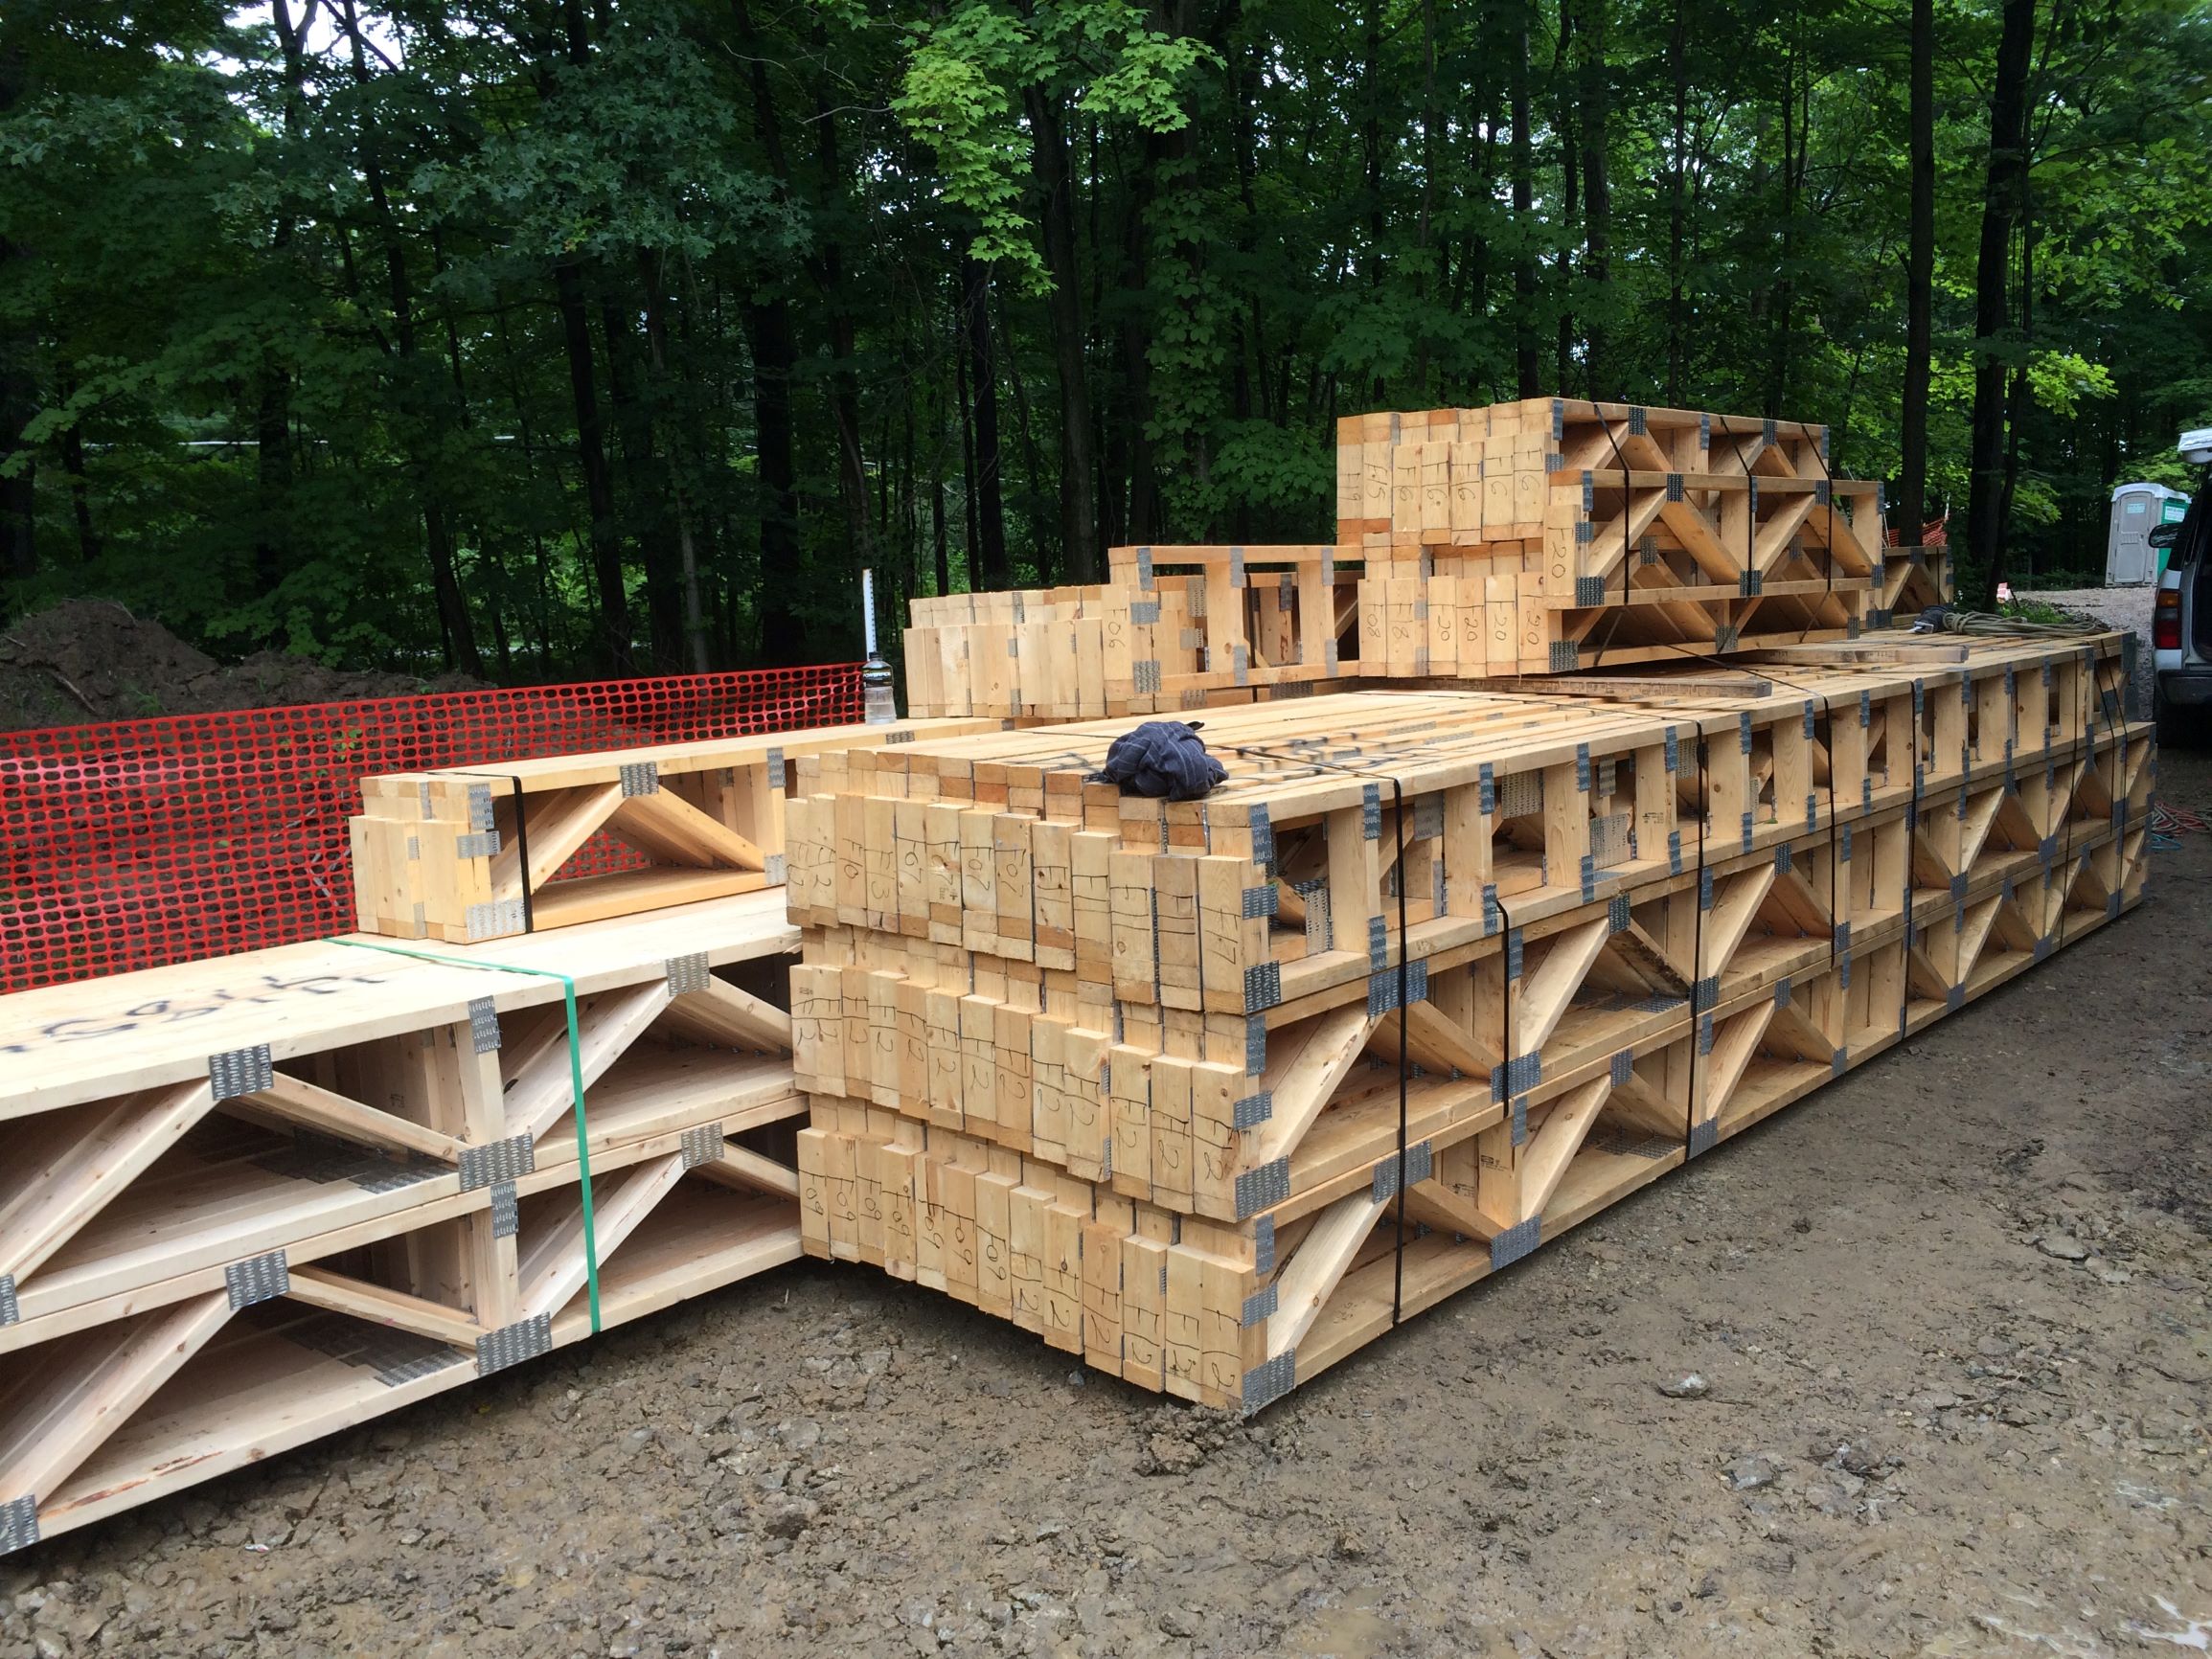
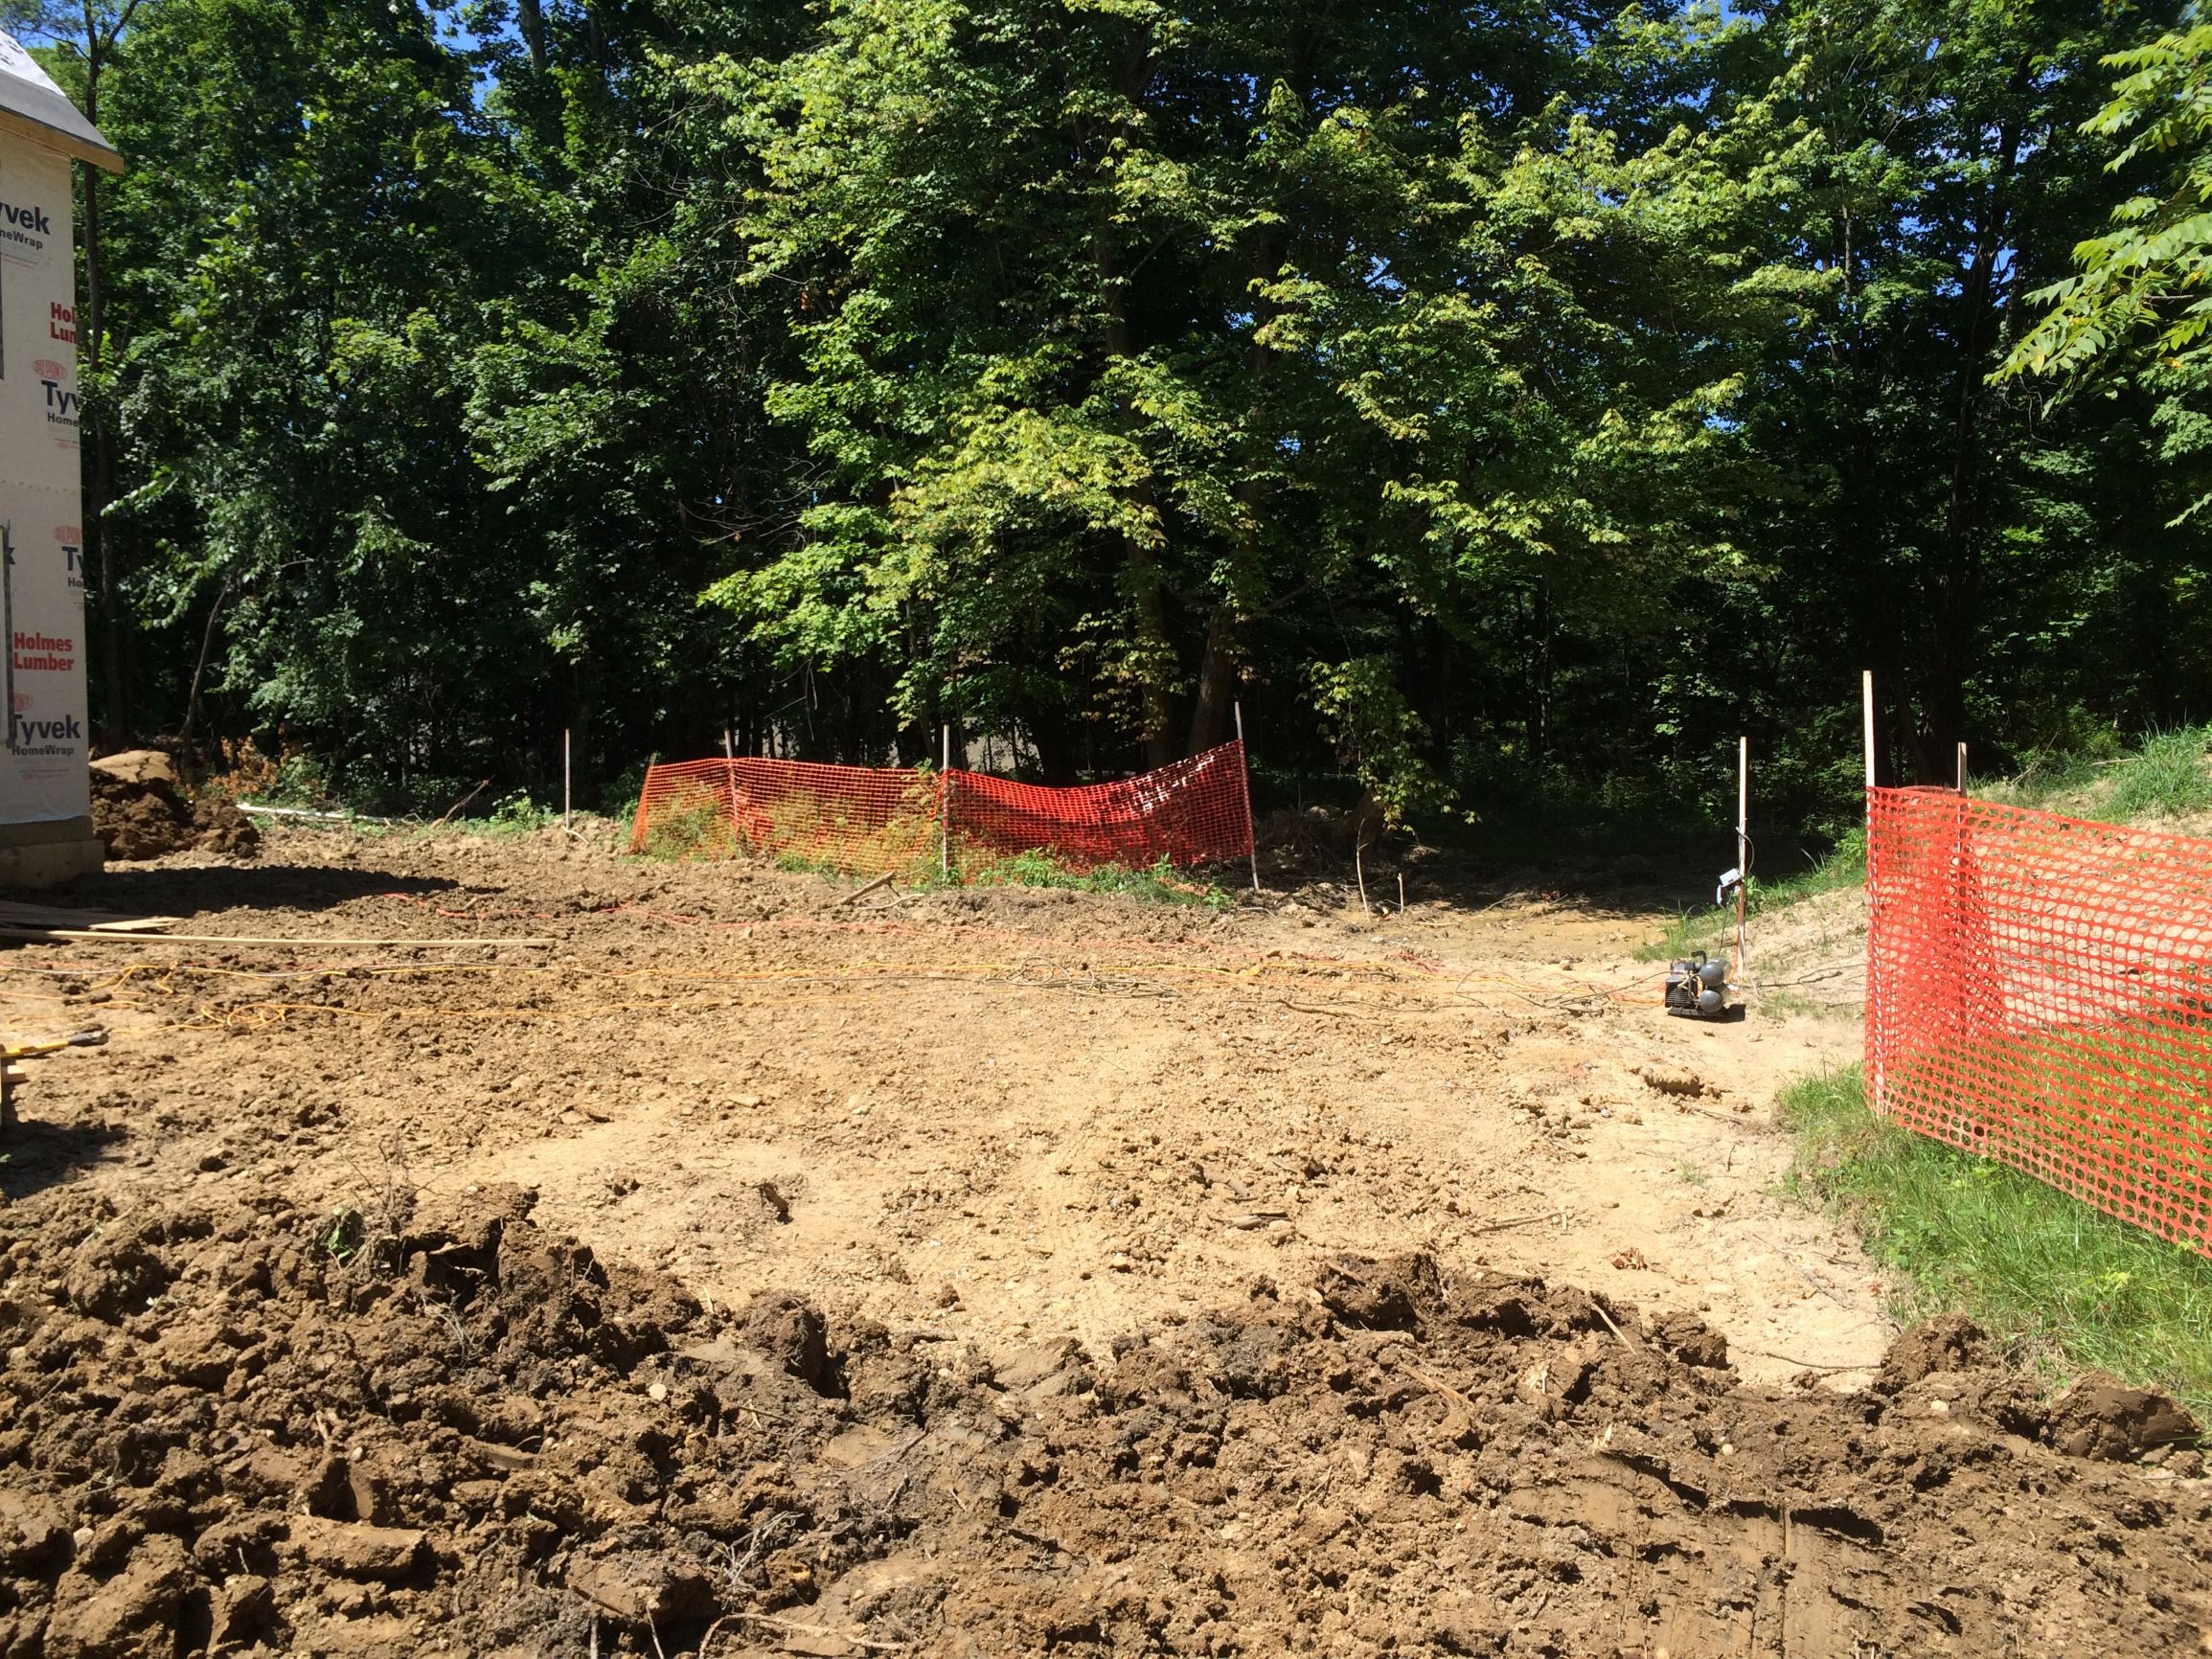
UPDATE: Well thanks to extended time on the computer, I was able to locate photos from our house during construction to showcase how the snow fence worked to protect our woods. You can see from the two photos that the fence kept construction material away from the roots along with see disruption stayed even a foot off even the snow fence. The second photo you can see we have rolled back the snow fence for a time being, not sure what I was doing at this point. We ensured all top soil remained on our property and had two piles made, One in the front and one in the back of the property. You can see the pile between the two areas of snow fence – this is also projected behind the snow fence so not to get compacted or disturbed during construction.

Thank you Nick!! What a great read!
I’m so happy that you are taking care of our oaks….. your mom names it Oak Grove!
The oaks at Oak Grove are so striking and ground the whole space. Leave it to the the woman that taught me to love horticulture to give the space the perfect name!